利用Hootsuite将WordPress文章自动发布到Google plus主页
在之前的一篇文章中,我详细介绍了如何创建一个Google plus主页.现在,让我们来看看如何利用Hootsuite社交媒体管理工具将WordPress文章自动发布到Goolge plus主页.我之前也写了两篇文章,将WordPress文章自动发布到Facebook主页.如果感兴趣的话,那么点击下面的链接查看.
利用Hootsuite将WordPress文章自动发布到Facebook主页
利用SNAP将WordPress文章自动发布到Facebook主页
WordPress文章自动发布到Google plus主页
Hootsuite是一个免费的在线社交媒体管理工具.如果你想要更多高级功能,那么可以购买高级账号.你不需要为你的WordPress网站安装插件.
前往Hootsuite官方网站,注册一个免费账号,也可以用你的Twitter, Facebook或Google plus账号登录.下面我用我的Google plus账号登录,如果你用邮箱注册一个传统的账号,你看到的过程可能跟下面的有一点不同.不过整体上是一致的.
登录之后,点击Google+ Page按钮将你的Google plus主页添加到Hootsuite.

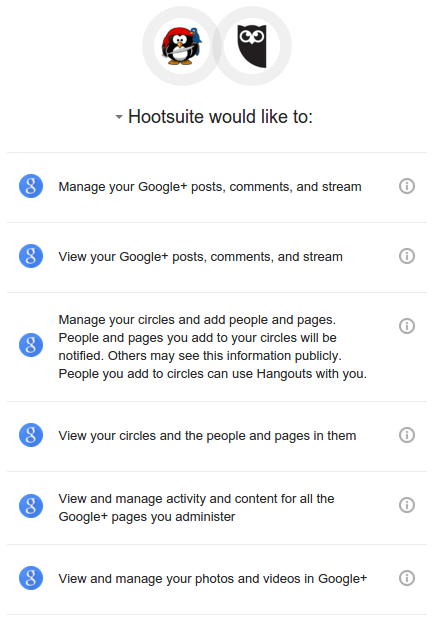
Hootsuite会征求你的允许,管理你的Google plus主页.
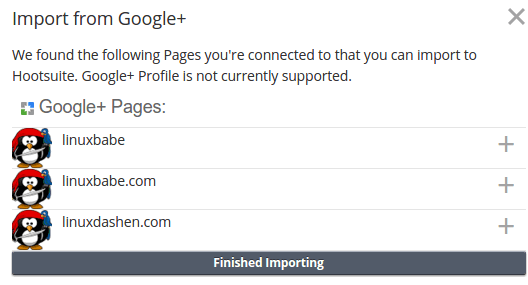
点击允许,然后选择你要导入的Google plus主页.点击Finished Importing.
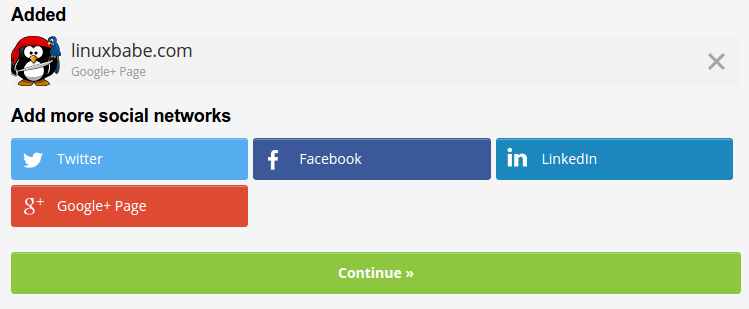
然后,点击Continue按钮.
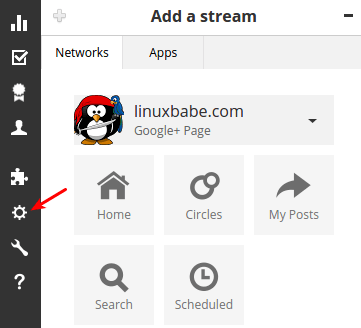
现在重新登录Hootsuite.出现一则欢迎消息.可以skip tour. 在左侧面板点击齿轮图标.
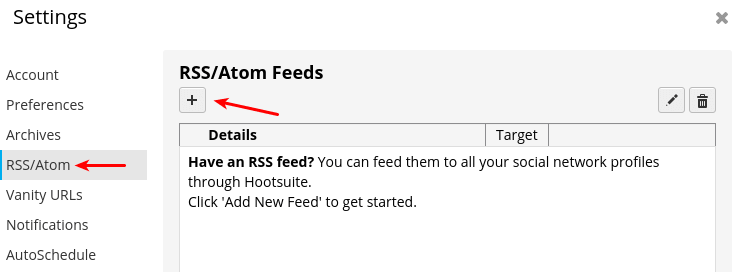
在新窗口中,选择左侧面板的RSS/Atom,然后点击+号按钮来添加你的WordPress网站RSS Feed.
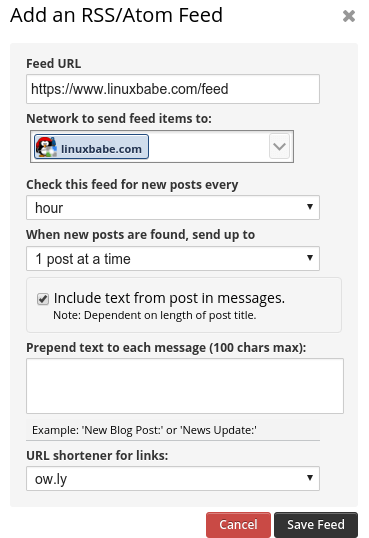
输入你的Feed URL.选择你的Google plus主页作为目标网络.指定Hootsuite检查Feed的频率.最后点击Save feed.
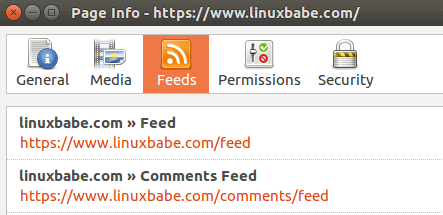
WordPress网站的默认Feed URL格式为 http://yourdomain.com/feed.在Firefox浏览器中,右击网页的空白处,选择查看页面信息,然后点击Feed图标就能看到网站Feed URL了.WordPress还有一个评论的Feed URL,但这里我们需要的是文章的Feed URL.
现在,Hootsuite会定期检查你的Feed,如果有新文章,Hootsuite会自动将文章发布到你的Google plus主页.
Feed did not valid
如果你的网站是https加密的,你可能会在Hootsuite添加RSS Feed的时候看到feed did not valid错误.这一般是因为你的服务器SSL/TLS cipher suite配置不正确.如果你的网站受CDN服务的保护,那么有时候你的服务器cipher suite配置正确,但CDN服务器的cipher suite配置不正确,这时也会出现feed did not valid错误.Cloudflare的CDN服务器就是这样的.
如果你不懂服务器cipher suite,或者你无法更改服务器的Cipher Suite配置,你可以用Feedburner为你的网站烧制一个新的RSS feed. 点击下面的链接查看详细过程.
HTTPS网站如何解决Feed did not vaild错误


